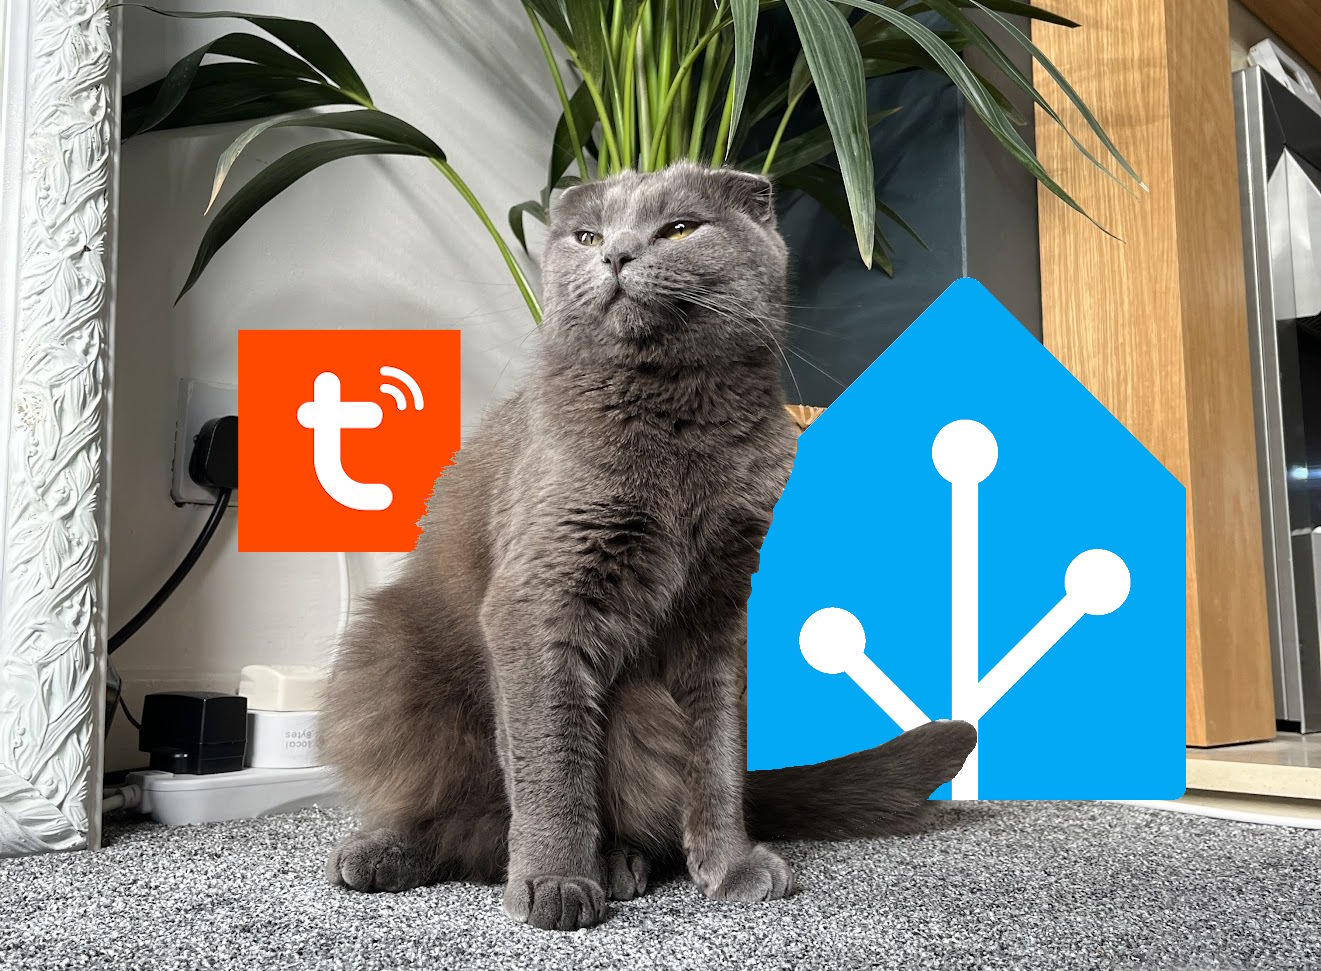
Let’s face it, cats are demanding creatures. They expect their food to be served on time, and they’re not afraid to let you know when it’s late. But what if you trigger the feeding action to our Home Assistant dashboard? In this post, we’ll explore how to use Home Assistant to control a Tuya-compatible cat feeder, ensuring your feline friend never goes hungry. Get ready to unleash the power of automation and give your cat the royal treatment they deserve!
Bonus content: I try to teach my cat how to trigger the feeding script with a zigbee button.
Credit: lalka_lapka
Adding the Tuya Integration in Home Assistant (2024.6.4)
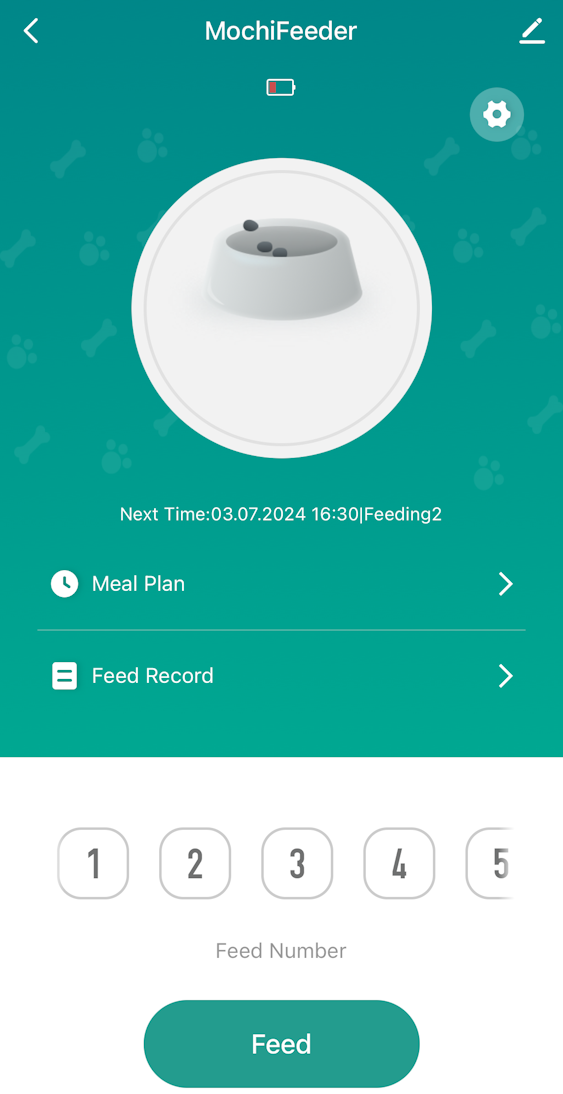
Firstly let’s assume that you already have the Tuya app setup and your cat’s feeder configured. You can set the feeding schedule there or manually trigger a defined number of portions to drop into the bowl.
Ideally, this would be something that can be done in Home Assistant on a separate schedule, or manually through a dashboard. The goal here is to have 1 less third party app to interact with on a daily basis. SO, let’s add the integration in Home Assistant:
Full setup instructions can be found here: Tuya HA integration
In the Tuya app:
- On the tab bar, select Me.
- Select the ⚙️ (cog) icon in the top-right corner.
- Account and Security.
- At the bottom, User Code will be shown; you need to when setting up this integration.
- Enter this code into the integration setup popup, then a QR code will appear.
- In the Tuya app (on the Home tab), press the + (plus) icon in the top-right corner. Choose Scan.
- Scan the QR code on the integration setup popup.
- Confirm the new device in the Tuya App.
Your Tuya devices, including the cat feeder should populate into Home Assistant.
Please note, this is a cloud dependant integration - If Tuya cloud changed their ToS, rate limits your API connections, there is a possibility that the cat might wake oyu up at 5am demanding food.
Create a feeding script
Whether we want to manually feed the beast with a dashboard button or we want to dispense kibble on a schedule, we must have a callable script. Here is how we do this…
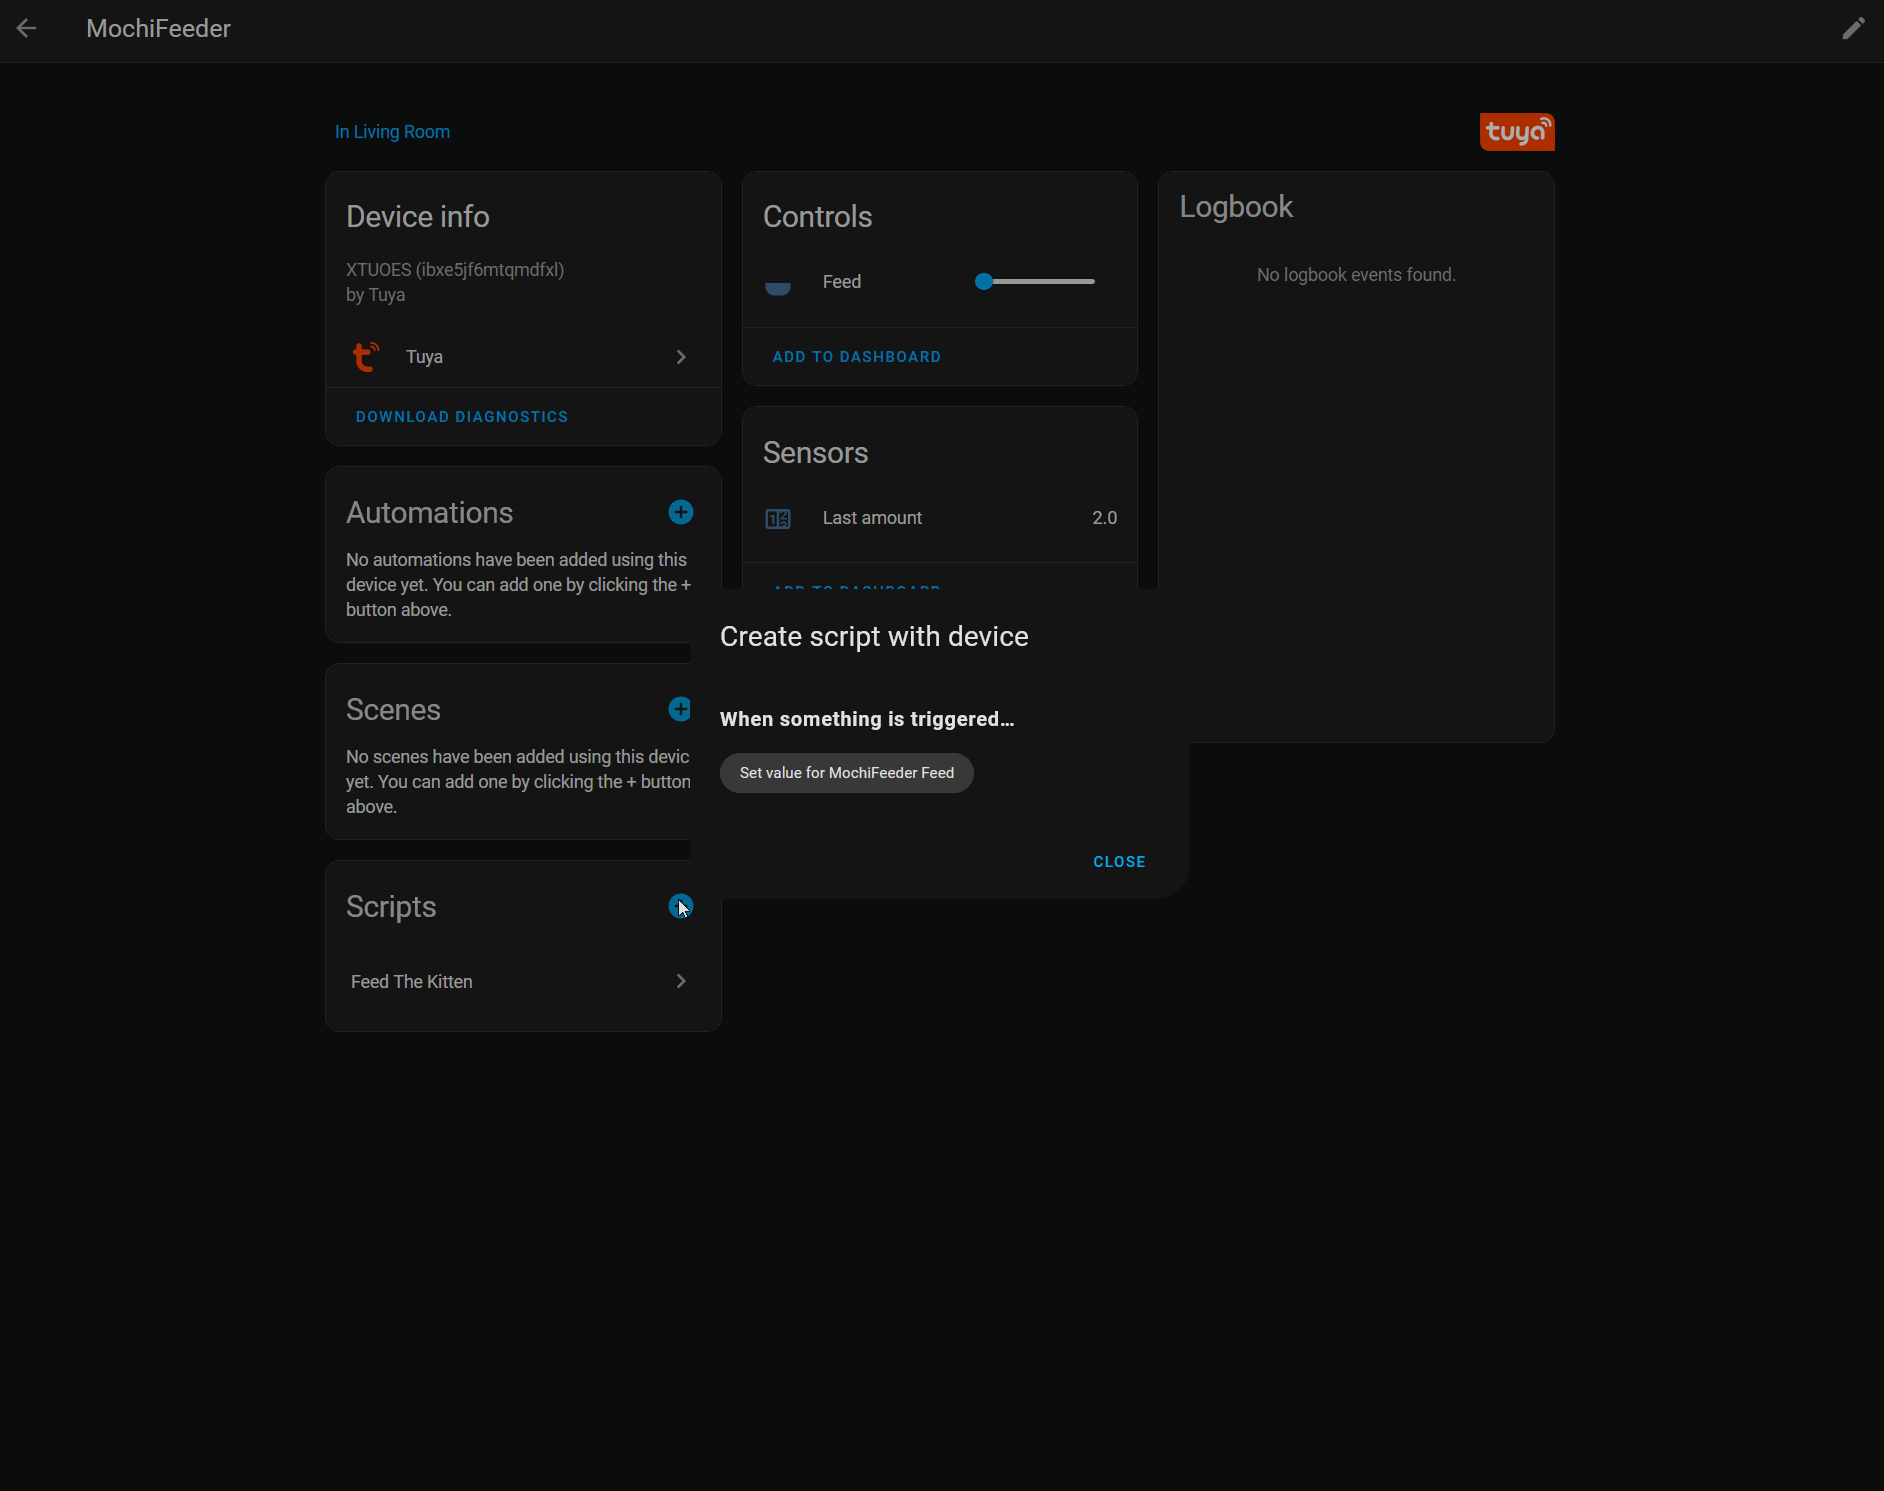
- Navigate to the Tuya device.
- Press the + button next to scripts to create a new script with the device.
- In the script editor, delete any auto generated sequences.
- Add a new action > Other Actions > Call a service.
- Choose or type
number.set_valueservice. - Press Choose Entity and select you cat feeder.
- Tick the value option and set to the number of portions you want to drop - 1.
- Save the script, giving it an appropriate name.
Feeding script YAML Code
alias: Feed The Kitten
sequence:
  - service: number.set_value
    target:
      entity_id: number.mochifeeder_feed #replace this with you feeder entity id
    data:
      value: "1" #the number of portions you want to drop into the bowl
description: "Feed the cat"
icon: mdi:cat
Now we can call this script in a number of ways…
Creating a dashboard button
My feeder already has a schedule configured from the Tuya app, but sometimes I want to treat the cat to some extra food. A button on my (Home Assistant Dashboard display)[https://exitcode0.net/posts/home-assistant-firehd8-dashboard/] is perfect for this.
Add a button and set the tap action to Call Service, set that service value to that of the script we made above. You can set the entity to this script name as well, but it’s the action that is important.
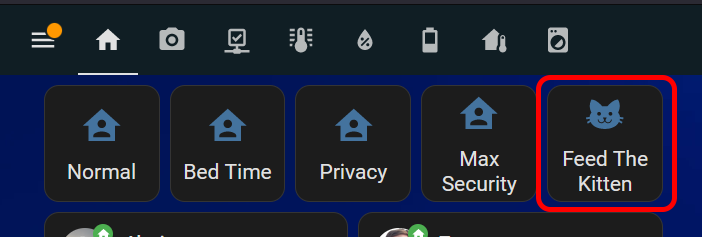
Dashboard button YAML Code
show_name: true
show_icon: true
type: button
tap_action:
  action: call-service
  service: script.feed_the_kitten
  target: {}
entity: script.feed_the_kitten
show_state: false
hold_action:
  action: more-info
Creating a feeding automation schedule
If you want to avoid using the feeding scheduler in the Tuya app or perhaps want to integrate a feeding schedule into other Home Assistant benifits such as presence detection, here some sample code for how you might want to do this…
Here we are feeding at 5am and 5pm every day. You could choose to make another script with an increased portion size, or call the service action multiple times.

Automation YAML Code
description: ""
mode: single
trigger:
  - platform: time_pattern
    hours: "5"
    minutes: "0"
    seconds: "0"
  - platform: time_pattern
    hours: "17"
    minutes: "0"
    seconds: "0"
    condition: []
    action:
  - service: script.feed_the_kitten
    data: {}
Bonus Content: Teach the cat to feed itself at 5am
So perhaps we can give the cat a zigbee button that triggers that script or maybe we can use a Ikea Tradfi PIR sensor? To be sure that she doesn’t learn how to game the system, I’ve also used a counter (helper) limiting 6 drops per day.
Here are Mochi’s efforts to feed herself… she soon figured out that the sensor = food.